How to Clean Rock Climbing Shoes

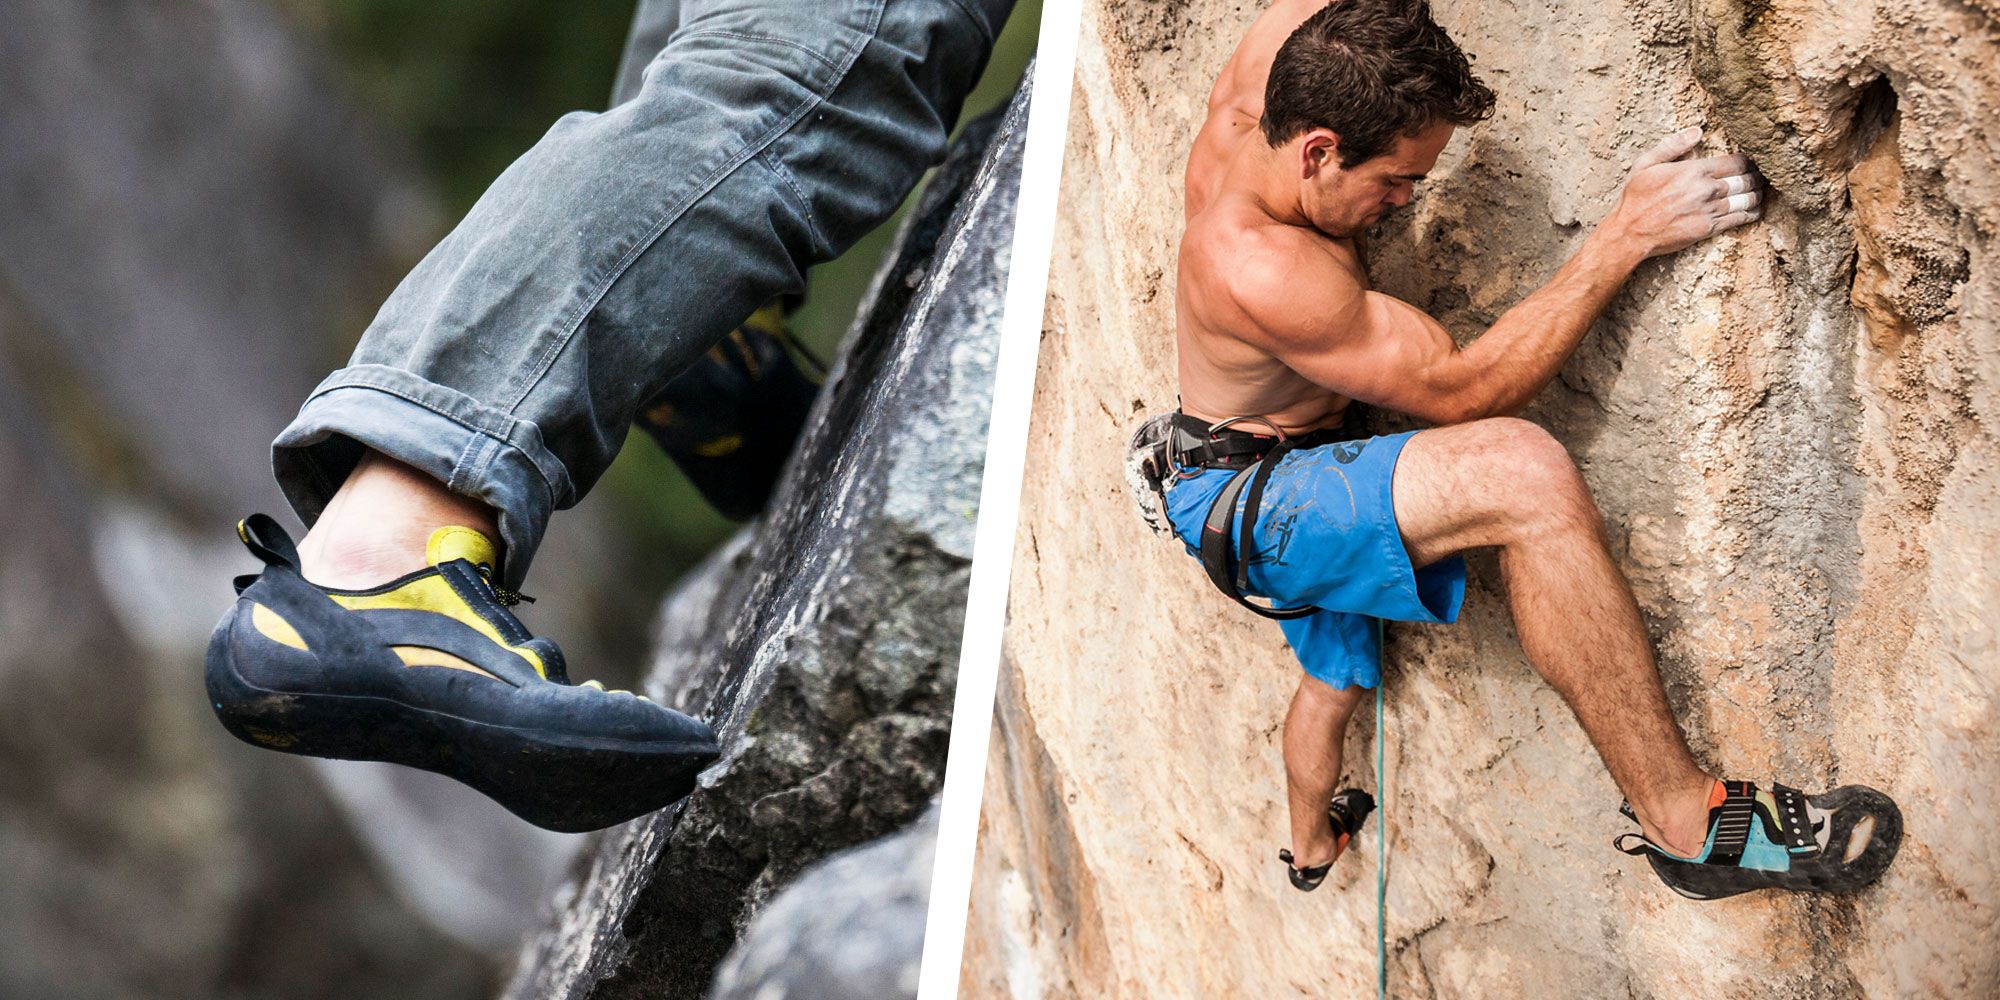
Rock climbing shoes are essential for any climber, whether bouldering, sport climbing, or trad climbing. They provide grip, comfort, and precision on the rock, but they also get dirty, sweaty, and smelly over time. Cleaning your rock climbing shoes regularly can help extend their lifespan, improve their performance, and prevent odors and infections. In this article, we will show you how to clean your rock-climbing shoes in five easy steps.

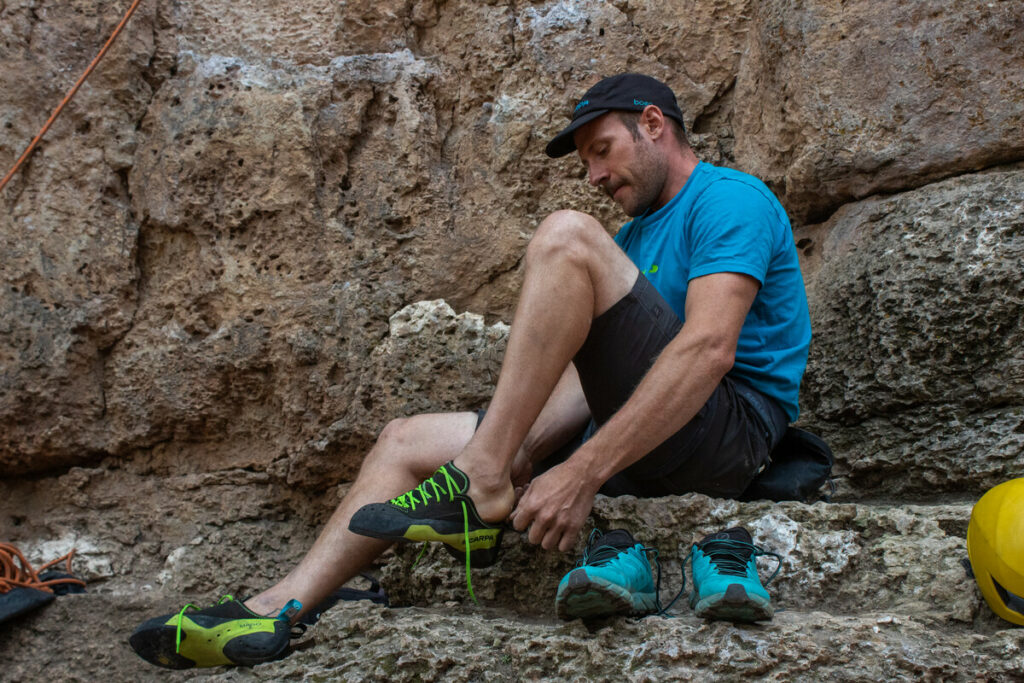
Why You Should Clean Your Rock Climbing Shoes

There are several reasons why you should clean your rock climbing shoes periodically:

  • Safety: Dirt and dust can accumulate on the soles and rands of your shoes, reducing their friction and traction on the rock. This can make you slip or lose balance while climbing, which can be dangerous. Cleaning your shoes can help restore their grip and prevent accidents.
  • Hygiene: Rock climbing shoes are often worn without socks, which means your feet are in direct contact with the material. Sweat, bacteria, and fungus can build up inside your shoes, causing foul smells and infections such as athlete’s foot. Cleaning your shoes can help eliminate these problems and keep your feet healthy.
  • Performance: Rock climbing shoes are designed to fit snugly and conform to your feet’ shape. However, dirt and sweat can cause them to stretch or shrink over time, affecting their fit and comfort. Cleaning your shoes can help maintain their shape and size, ensuring optimal performance.

How to Clean Your Rock Climbing Shoes

Cleaning your rock climbing shoes is not difficult, but it requires some care and attention. Here are the steps you need to follow:

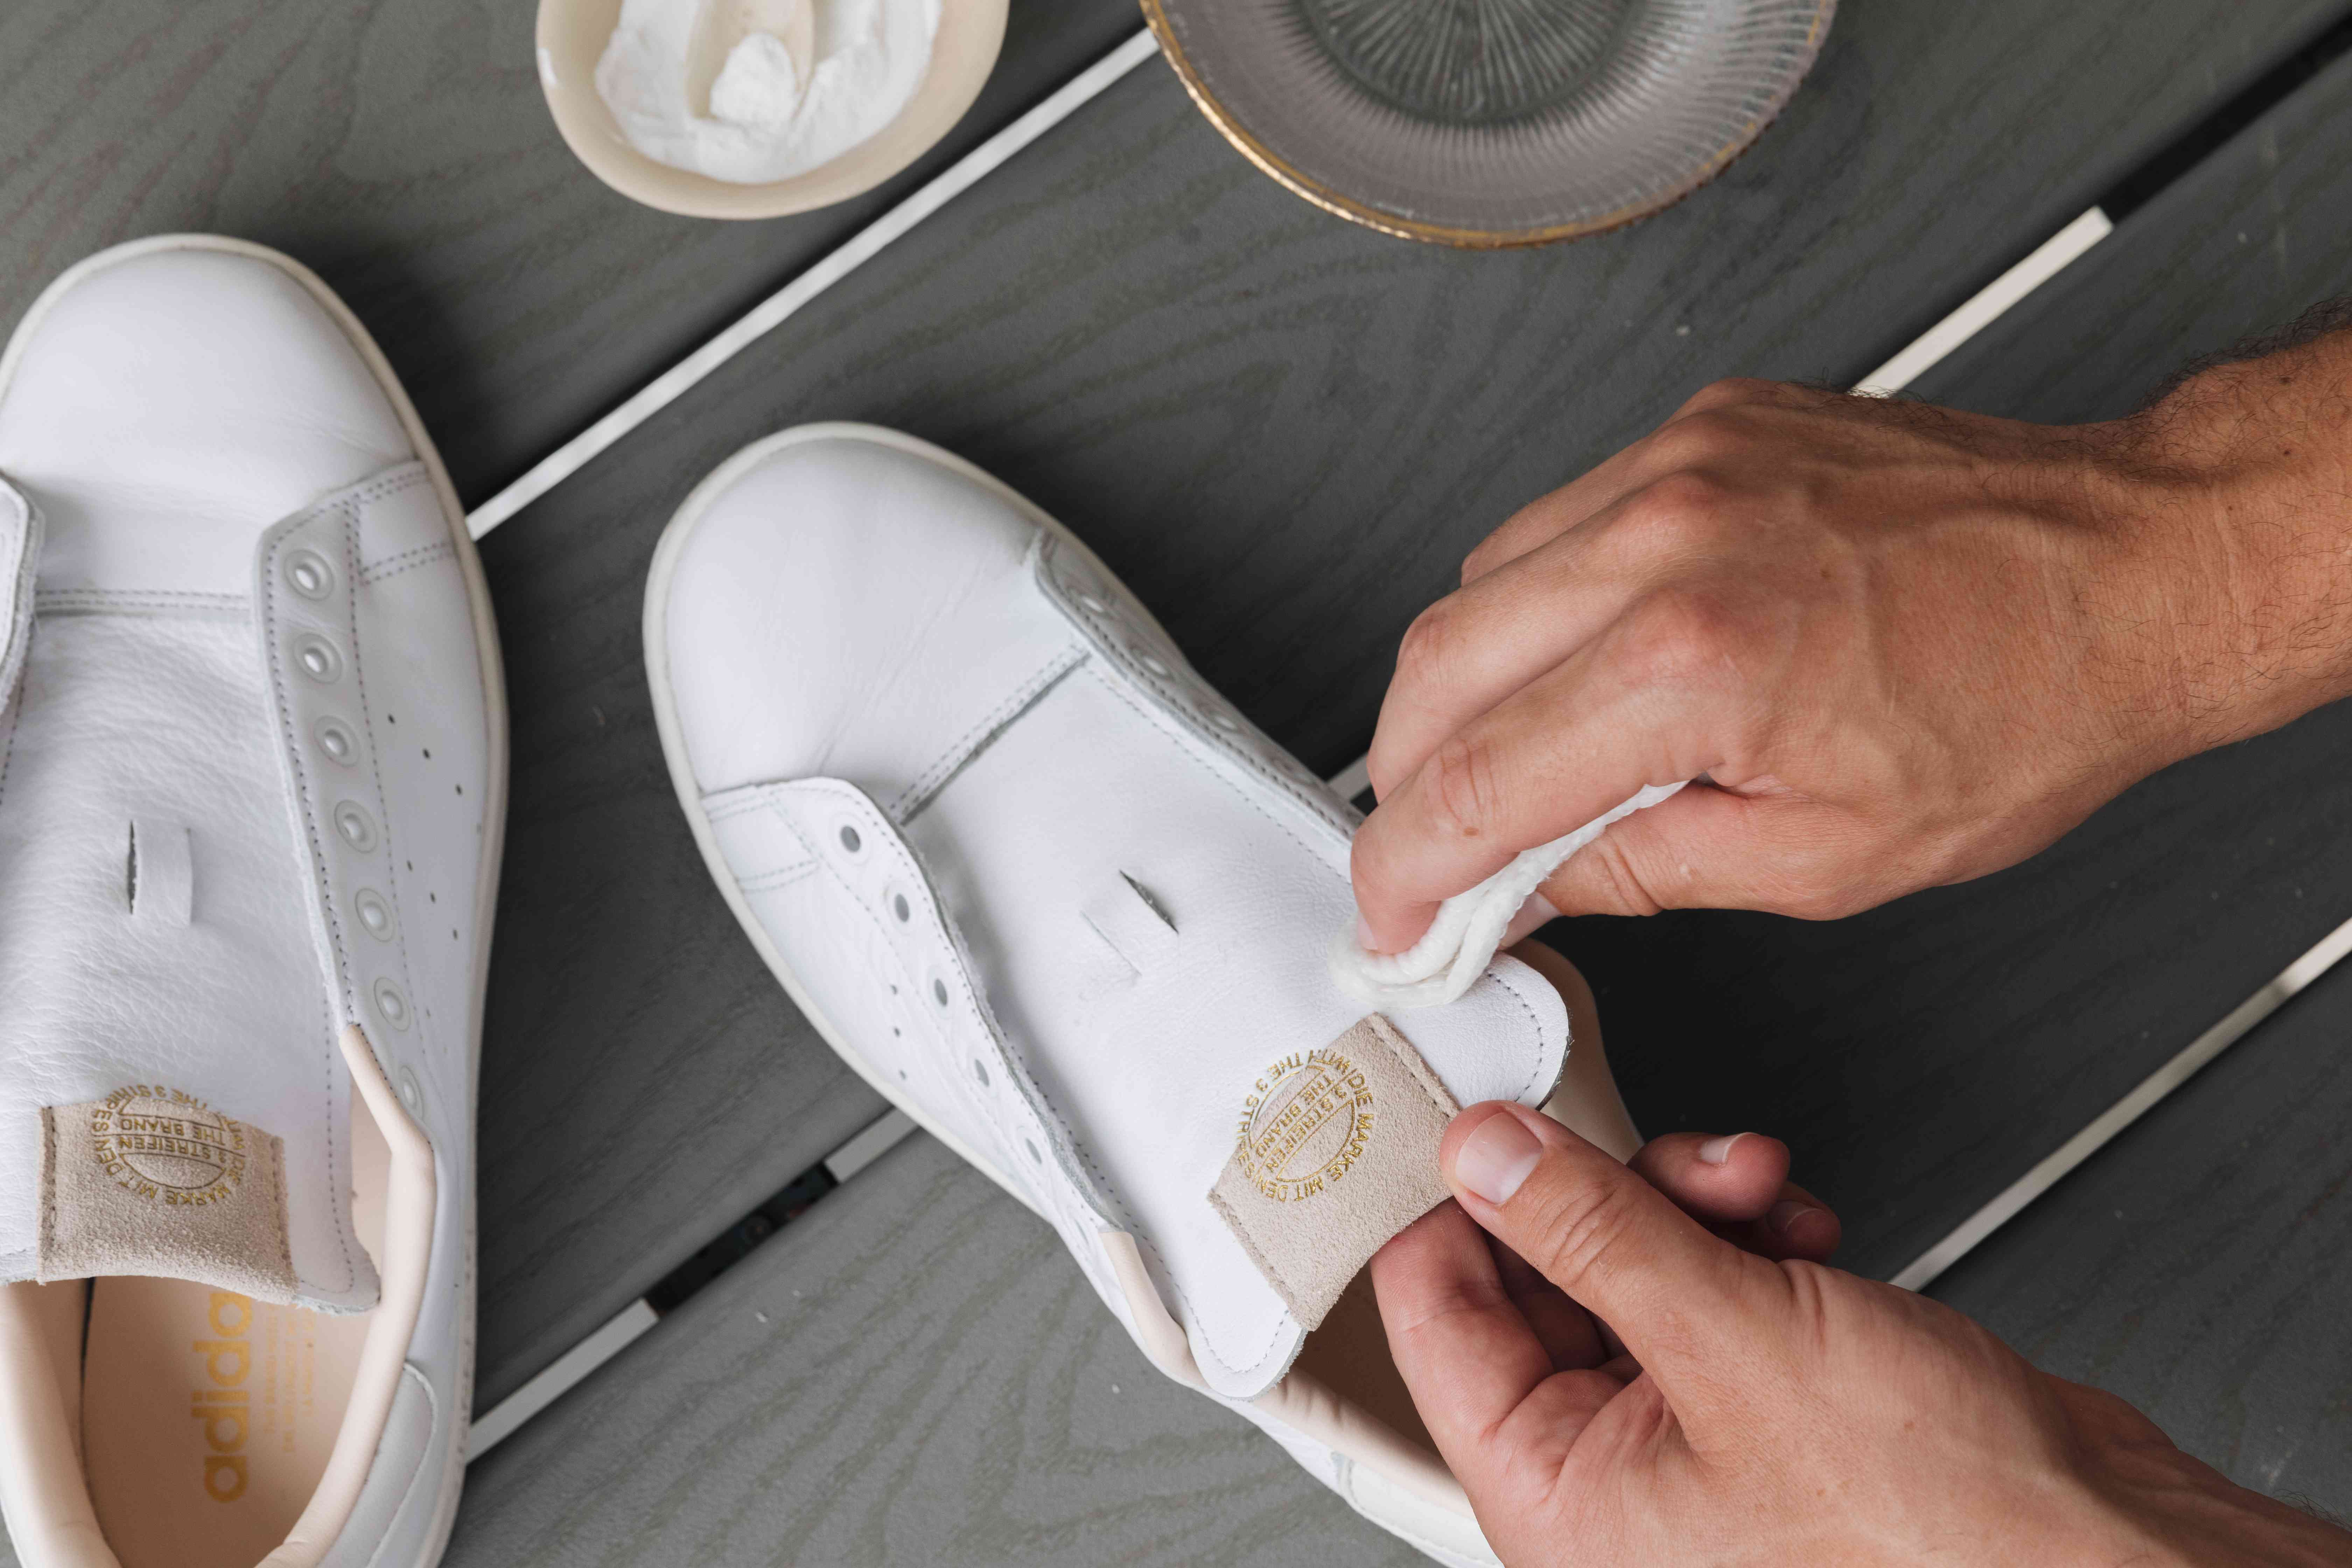
  1. Brush off dirt and debris: Before washing your shoes, you need to remove as much dirt and debris as possible from the surface. Use a dry brush or a cloth to wipe off any dust, chalk, or pebbles from the uppers, soles, and rands of your shoes. You can also turn them upside down and tap them gently to shake out any loose particles.
  2. Dip them in warm water with mild detergent: Fill a bucket or a basin with warm water (not hot) and add a small amount of mild detergent (such as liquid dishwashing soap). Submerge your shoes in the water and let them soak for a few minutes. Do not use bleach, harsh chemicals, or abrasive cleaners, as they can damage the material and color of your shoes.
  3. Scrub them with a brush: After soaking your shoes, use a soft brush or a sponge to scrub them gently inside and out. Pay special attention to the toe box and the sole, where most of the dirt and odor accumulate. You can also use a toothbrush to reach into the crevices and seams of your shoes. Do not scrub too hard or too long, as you may wear out the rubber or the fabric of your shoes.
  4. Rinse them with clean water: Once you have scrubbed your shoes thoroughly, rinse them with clean water until all the soap is gone. You can use a hose or a faucet to spray water on your shoes, or dip them in another bucket of fresh water. Make sure there is no detergent residue left on your shoes, as it can affect their grip and durability.
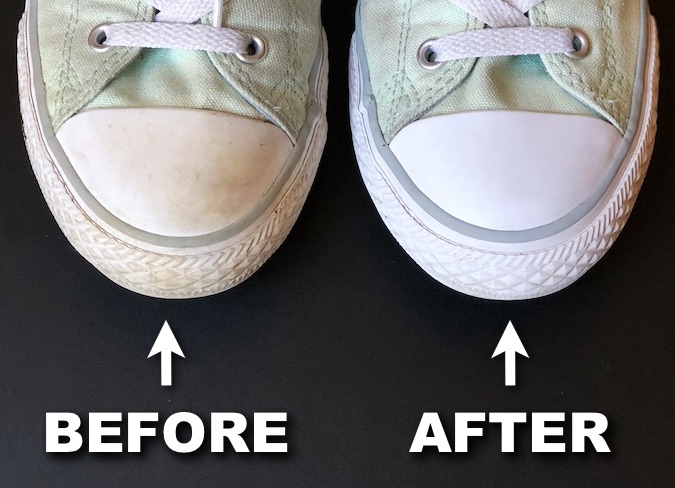
  5. Dry them naturally: After rinsing your shoes, squeeze out the excess water gently with your hands or a towel. Do not wring or twist your shoes, as this can deform them or damage their structure. Then place them in a well-ventilated area away from direct sunlight or heat sources (such as radiators or dryers) to dry naturally. You can stuff them with newspaper or paper towels to absorb moisture and help them retain their shape.

Tips for Keeping Your Rock Climbing Shoes Clean

Besides cleaning your rock climbing shoes occasionally, there are some tips you can follow to keep them cleaner for longer:

  • Get the right fit: Ill-fitting shoes can cause blisters, abrasions, and discomfort on your feet, which can lead to infections and odors. Make sure you choose the right size and style of rock climbing shoes for your feet shape and climbing preference. You can also wear thin socks or liners to reduce friction and sweat inside your shoes.
  • Wear them only for climbing: Rock climbing shoes are not meant for walking or hiking on trails or roads, as this can wear out the rubber prematurely and introduce dirt and grit into your shoes. Only put on your rock climbing shoes when you are going for a hike. 

How to Store Your Rock Climbing Shoes

Storing your rock climbing shoes properly can also help preserve their quality and longevity. Here are some tips on how to store your rock climbing shoes when you are not using them:

  • Pack them wisely: When you put your shoes in your gym bag or backpack, make sure they are not squished by heavy or sharp objects, such as carabiners, cams, or water bottles. This can deform or damage their shape and structure. Ideally, you should store your shoes in a separate shoe bag or pouch to protect them from dirt and chalk. If you have shoes with velcro, close the straps neatly to prevent dust and dirt from getting trapped1.
  • Air them out: As soon as you get back from climbing, remove your shoes from your bag and let them air out in a well-ventilated, cool, and dry place. This can prevent mildew and odor from developing inside your shoes. Avoid direct sunlight or heat sources, such as radiators or dryers, as they can warp the rubber or melt the glue of your shoes12.
  • Keep them clean and dry: Before storing your shoes for a long time, make sure they are clean and dry. Follow the steps above to wash your shoes if they are dirty or smelly. You can also stuff them with newspaper or paper towels to absorb moisture and help them retain their shape. Do not store your shoes in plastic bags or containers, as they can trap moisture and cause mold or fungus growth.

Conclusion

Rock climbing shoes are an important part of your climbing gear, and they deserve proper care and attention. By cleaning, drying, and storing your shoes correctly, you can extend their lifespan, improve their performance, and prevent odors and infections. You can also improve your footwork and technique to reduce unnecessary wear and tear on your shoes. Remember to choose the right fit and style of rock climbing shoes for your feet and climbing preference, and enjoy the grip and comfort they provide on the rock.

How to Clean Shoes That Turned Yellow: Complete Guide

Have you ever noticed that your white shoes have turned yellow over time? This can happen due to various reasons, such as exposure to sunlight, dirt, sweat, or oxidation. Yellow shoes can ruin your outfit and make you feel less confident. But not to worry, there are some easy and effective ways to restore your shoes to their original whiteness. In this guide, we will show you how to clean shoes that turned yellow using some common household items and products. Follow these steps and you will be able to enjoy your white shoes again.

Step 1: Gather the Materials

Before you start cleaning your shoes, you will need to gather the following materials:

  • A bucket or a large bowl
  • Warm water
  • Laundry detergent
  • Baking soda
  • Hydrogen peroxide
  • A toothbrush or a soft-bristled brush
  • A cloth or a towel
  • Optional: bleach, lemon juice, white vinegar, magic eraser

Step 2: Remove the Laces and Insoles

The next step is to remove the laces and insoles from your shoes. This will make it easier to clean the shoes and prevent them from getting tangled or damaged. You can wash the laces and insoles separately in the washing machine or by hand using laundry detergent. If the laces are too yellow, you can replace them with new ones.

Step 3: Make a Cleaning Solution

Now it’s time to make a cleaning solution that will help you remove the yellow stains from your shoes. There are different recipes that you can try depending on what you have at home. Here are some of them:

  • Mix one part laundry detergent with two parts warm water in a bucket or a bowl.
  • Mix one part baking soda with two parts hydrogen peroxide in a small container.
  • Mix one part bleach with five parts water in a bucket or a bowl. Be careful when using bleach as it can damage your skin and clothes. Wear gloves and work in a well-ventilated area.
  • Mix one part lemon juice with two parts water in a spray bottle.
  • Mix one part white vinegar with two parts water in a spray bottle.

Step 4: Apply the Cleaning Solution

Once you have made your cleaning solution, you can apply it to your shoes using a toothbrush or a soft-bristled brush for cleaning shoes. Scrub the yellow areas gently and thoroughly until you see the stains fading. You can also spray the solution on the shoes if you are using a spray bottle. Let the solution sit on the shoes for about 15 minutes.

Step 5: Rinse and Dry

After 15 minutes, rinse your shoes with clean water to remove any residue from the cleaning solution. To remove excess water you can use a cloth or a towel for wiping shoes. Then, let your shoe air dry in a cool and shady place. Avoid putting them in direct sunlight or using a dryer as this can cause them to turn yellow again.

Step 6: Repeat if Necessary

If your shoes are still yellow after the first round of cleaning, you can repeat the process until you are satisfied with the results. You can also try using different cleaning solutions or products to see which one works best for your shoes. Some people swear by using magic erasers to erase yellow stains from their shoes.

Why Do White Shoes Turn Yellow?

White shoes turn yellow because of a chemical reaction called oxidation. This happens when the shoes are exposed to oxygen in the air, especially when they are in contact with sunlight, dirt, dust, or sweat. Oxidation causes the white color of the shoes to fade and turn yellow over time. Some factors that can speed up this process are using too much bleach, leaving detergent residue on the shoes, or drying them in direct sunlight.

Tips and Tricks Save White Shoes from Turning Yellow

Here are some tricks and tricks to save your white shoes from turning yellow:

  • Spot-clean your white shoes to avoid any stains.
  • Never use any harsh whitening agent when washing white shoes.
  • Ensure your white shoes are kept away from the sun to prevent chemical reactions.
  • Always wear socks when you wear shoes. This will avoid the yellowing of the sole.
  • Use a mild detergent or a cleaning product specifically designed for shoes.
  • Rinse the soap off completely with water and dry your shoes in the shade.
  • Apply pure blue ink to your white shoes to counteract the yellowing effect.

Conclusion

Cleaning shoes that turned yellow is not as hard as it may seem. With some simple ingredients and tools, you can make your shoes look white and fresh again. Just follow these steps and you will be able to rock your white shoes with confidence. Remember to avoid oxidation by storing your shoes in a cool and dry place, using mild detergents and bleach, and drying them in the shade. If you have any questions or suggestions, feel free to leave a comment below. Happy cleaning!

How to Clean White Soles of Shoes: Complete Tips and Tricks

White soles of shoes can look stylish and trendy, but they can also get dirty and yellow over time. Dirt, dust, grass, and other stains can make your white soles look dull and unappealing. Fortunately, there are some easy and effective ways to clean the white soles of shoes and make them look like new again. In this thorough blog, I will show you how to clean the white soles of shoes using different methods and products. I will also give you some tips on how to prevent yellowing and keep your white soles bright and fresh.

How to Clean White Soles of Shoes: Complete Tips and Tricks

1. Clean the White Soles of the Shoes with Baking Soda and Vinegar

One of the most popular and natural ways to clean the white soles of shoes is by using baking soda and vinegar. Baking soda is a mild abrasive that can help remove dirt and stains from the rubber. Vinegar is an acidic substance that can help whiten and disinfect the soles. Here are the steps to follow:

  • Mix one part baking soda and one part white vinegar in a small bowl to form a paste.
  • Use an old toothbrush or a soft cloth to apply the paste to the white soles of your shoes. Scrub gently in circular motions to remove the dirt and stains.
  • Rinse the paste off with warm water and wipe the soles dry with a clean cloth or paper towel.
  • Repeat the process if needed until the soles are clean and white.

2. Whiten the Soles of Shoes with a Magic Eraser

Another easy and effective way to whiten the soles of shoes is using a Magic Eraser. A Magic Eraser is a sponge-like product that can remove scuff marks, dirt, and stains from various surfaces, including rubber. Here are the steps to follow:

  • Wet the Magic Eraser with water and squeeze out the excess.
  • Rub the Magic Eraser on the white soles of your shoes in back-and-forth motions to erase the dirt and stains.
  • Rinse the Magic Eraser with water and repeat the process until the soles are clean and white.
  • Wipe the soles dry with a clean cloth or paper towel.

3. How to Clean White Soles of Shoes with Bleach

Another way to clean the white soles of shoes is by using bleach. Bleach is a powerful chemical that can whiten and disinfect the rubber. However, bleach can also damage or discolor some materials, so use it with caution and only on white soles. Here are the steps to follow:

  • Mix one part bleach and five parts water in a small bucket or container.
  • Dip an old toothbrush or a soft cloth into the bleach solution and scrub the white soles of your shoes gently.
  • Rinse the bleach solution off with cold water and wipe the soles dry with a clean cloth or paper towel.
  • Repeat the process if needed until the soles are clean and white.

4. Clean the White Soles of Shoes with Toothpaste

Another way to clean the yellow soles of shoes is by using toothpaste. Toothpaste is a mild abrasive that can help remove dirt and stains from the rubber. It can also whiten and freshen up the soles. Here are the steps to follow:

  • Choose a white toothpaste that does not contain any gel or color additives.
  • Apply a generous amount of toothpaste to an old toothbrush or a soft cloth.
  • Scrub the white soles of your shoes with the toothpaste in circular motions to remove the dirt and stains.
  • Rinse the toothpaste off with warm water and wipe the soles dry with a clean cloth or paper towel.
  • Repeat the process if needed until the soles are clean and white.

How to Remove Yellowing From Shoe Soles at Home

Cleaning the white soles of shoes can be easy, but preventing them from yellowing can be tricky. Yellowing can occur due to oxidation, exposure to sunlight, moisture, or dirt. Here are some tips on how to prevent the yellowing of white soles of shoes:

  • Store your shoes in a cool, dry, and dark place when not in use. Avoid leaving them in direct sunlight or near heat sources.
  • Wipe your shoes with a damp cloth or paper towel after each wear to remove any dirt or moisture that may cause yellowing.
  • Apply a thin layer of petroleum jelly or baby oil to your white soles before storing them. This can help create a protective barrier against oxidation
  • Avoid using harsh chemicals or detergents to clean your white soles. These can damage or discolor the rubber. Use mild and natural products instead, such as baking soda, vinegar, or toothpaste.
  • Avoid wearing your shoes on wet or muddy surfaces. These can stain or damage your white soles. If you do get your shoes wet or dirty, clean them as soon as possible.

How to Remove Yellowing of the Shoe Soles with Hydrogen Peroxide and Baking Soda

Another way to remove the yellowing of the shoe soles is by using hydrogen peroxide and baking soda. Hydrogen peroxide is a powerful bleaching agent that can help whiten and disinfect the rubber. Baking soda is a mild abrasive that can help remove dirt and stains from the rubber. Here are the steps to follow:

  • Mix one part hydrogen peroxide and one part baking soda in a small bowl to form a paste.
  • Use an old toothbrush or a soft cloth to apply the paste to the yellowed areas of your shoe sole. Scrub gently in circular motions to remove the dirt and stains.
  • Leave the paste on for about 15 minutes or until it starts to bubble. The bubbling indicates that the hydrogen peroxide is working on whitening the rubber.
  • Rinse the paste off with warm water and wipe the soles dry with a clean cloth or paper towel.
  • Repeat the process if needed until the soles are clean and white.

Conclusion

White soles of shoes can look great, but they can also get dirty and yellow over time. To keep your white soles clean and bright, you can use different methods and products to remove the dirt and stains. You can also follow some tips to prevent yellowing and protect your white soles from oxidation and damage. By following these tips and tricks, you can enjoy your white soles of shoes for a long time.